All engines need cooling in some way, whether it’s simply by air rushing over it (unusual these days), oil, or most commonly, ‘water’.
The ‘water’ used in water-cooled bikes (and cars) is often simply called ‘antifreeze’, but it does more than prevent the cooling system from freezing up (which would be bad – as water freezes it expands, which can crack your engine)… Modern coolants are designed to raise the boiling point of the liquid and offer corrosion protection inside the motor. On this bike, it’s also used to warm the carburettors, making the machine run better during the winter.
The coolant system is pressurised, which also raises the boiling point, the pressure being controlled by a valve in the radiator cap – that’s why it’s so important you don’t open the filler cap when the system’s hot, and why you should cover it with a rag even if you’re sure it’s cooled down.
How do I look after the coolant in my bike?
There’s little you can do to look after the coolant, besides making sure the caps are secure, all the hoses are intact and that you change it regularly. If you find any milky deposits in the coolant, that could be a sign that oil is getting into it, which could mean a blown head gasket or damaged block or cylinder head.
There can be compatibility issues between coolant types so it’s important the system is thoroughly flushed between changes – mixing the chemicals could cause sludge to form, even if there are just traces of the old one left.
Change your bike’s coolant regularly and the engine and radiator should stay in great condition
How long should my motorcycle’s coolant last?
You should check your motorcycle owner’s manual or a Haynes manual, but on my 1999 Kawasaki ZX-6R G2 the coolant should be replaced every 16,000 miles or two years. It’s possible to check the condition of coolant, but it’s an important part of the engine, so it really should be changed on schedule.
What should I do if my bike’s coolant needs topping up?
You should top the cooling system up with the same coolant as was added in the first place – some are compatible but to be sure, don’t mix them. In an emergency, you can top up with water but this will be diluting the mixture, which will reduce the effectiveness of the system, so you should get it back to the correct mixture as soon as possible. This is more relevant to the old concentrated antifreezes that required dilution with distilled water; most are now sold ready-mixed.
Of course, if you need to top up your cooling system, you must question where it’s leaking from; is it a damaged hose, split expansion tank or a more serious issue inside the motor?

Make sure the coolant you use is compatible with your engine
Can I use any coolant for my motorcycle – is it the same as car coolant?
You need to check your bike’s owner’s manual or the Haynes manual to know what coolant to use; don’t go by the colour!
Most coolants or antifreezes are made with ethylene glycol, though some – like Silkolene Pro Cool – use the less toxic propylene glycol.
- IAT (Inorganic Acid Technology) was – and still is – typically used in older motors that contain copper and brass.
- OAT (Organic Acid Technology) has additives that give it an extended life, but it’s not quite as good at protecting against corrosion as IAT.
- HOAT (Hybrid Organic Acid Technology) is a combination of both, though it’s potentially incompatible with either. HOAT can last a long time, and it’s effective at preventing rust at low and high temperatures.
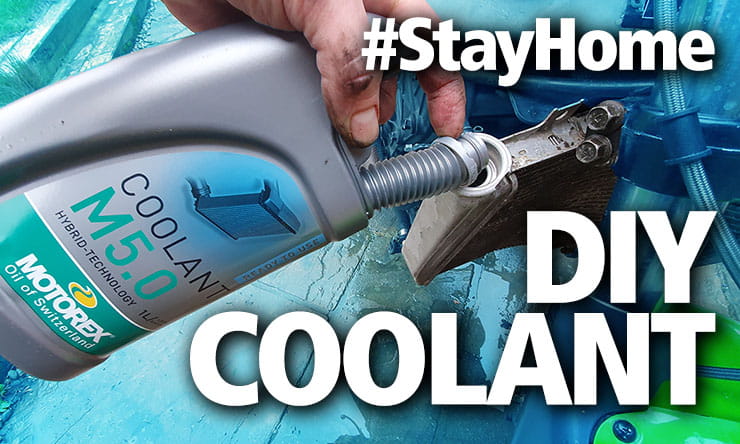
Some coolants used in some cars will be the same as those used in some bikes, but as with anything, check what the manufacturer recommends and make sure the product is compatible with the materials used in your engine; for instance, I’m using Motorex Ready to Use Coolant M5.0, which is claimed to be safe in cast iron and aluminium engines, as well as those using aluminium or copper alloys.
With the small amount of coolant used in a bike, I’d suggest you use a premix to avoid faffing about with distilled water and mixing ratios.

What tools do I need?
This article isn’t intended to be all you need to change the coolant on any motorcycle. I’m basing it on my 1999 Kawasaki ZX-6R, but your bike will have its own unique requirements, so I thoroughly recommend buying a Haynes workshop manual first. My hope is that this will give you the confidence to take on the job for yourself, but only with a workshop guide specific to your machine will you have the correct procedure. Remember that Bennetts customers can save a massive 40% on Haynes manuals at Bennetts Rewards. You’ll also need the following…
- Tools to remove the fairing panels
- Spanner to remove drain plugs
- Engine flush – I used Holts cooling system cleaner, which I bought from Halfords with my 10% discount for being a Bennetts Rewards member
- Garden hose
- Protective gloves
How do I change the coolant in my motorcycle?
Some coolants can be damaging to paintwork so take care with them and wear gloves – you should keep it away from your skin. Also make sure you drain the coolant into a suitable container that you can then take to your local recycling centre. You’ll need to run the bike during the process, so this is a job for outdoors…
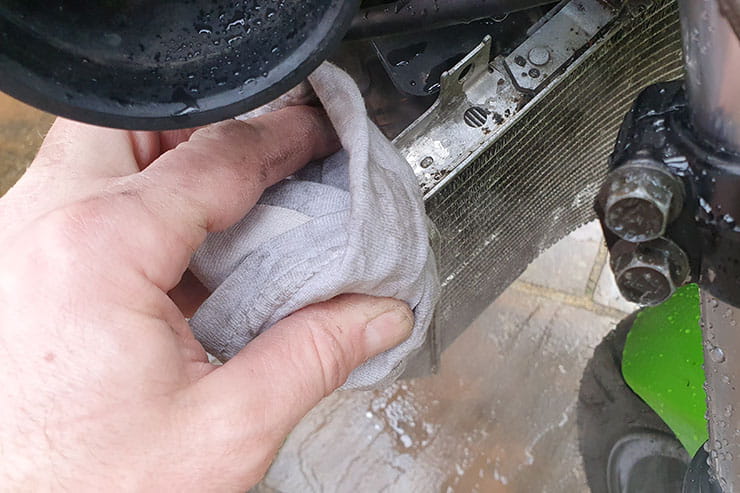
Step 1: Remove the radiator cap
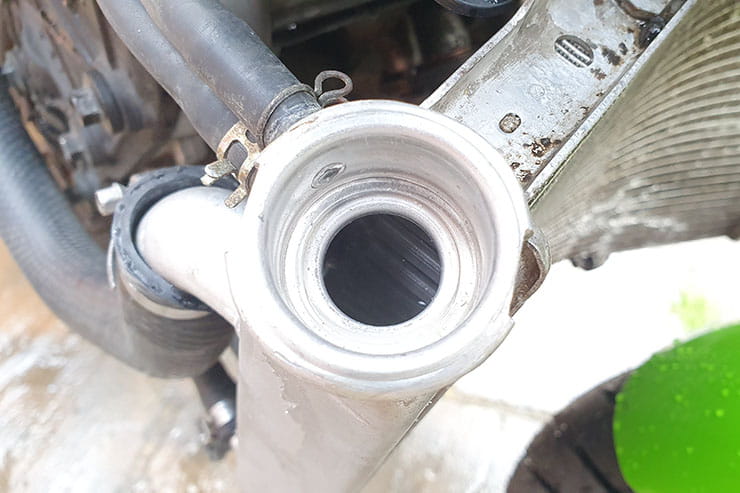
After stripping any fairing panels off, make sure the engine’s cold then carefully open the radiator cap. Always do this with a rag over the top, and turn it but hold it in place. If you hear any hissing, wait until the pressure is released and the hissing stops before lifting the cap clear.
Step 2: Drain the old coolant
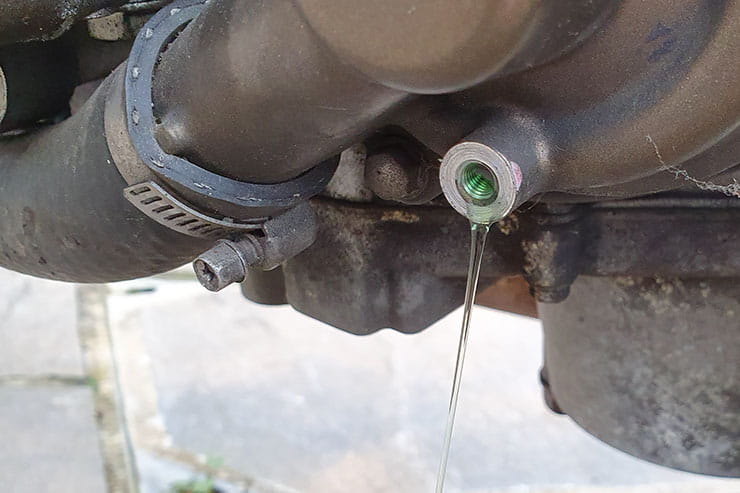
With a container underneath, remove the coolant drain bolt and washer from the bottom of the water pump on the left-hand side. This bike takes 2.3 litres of coolant, so make sure your container is large enough. If your bike has any bleed bolts, keep them loose until you fill the system back up.
Step 3: Drain the reservoir tank too
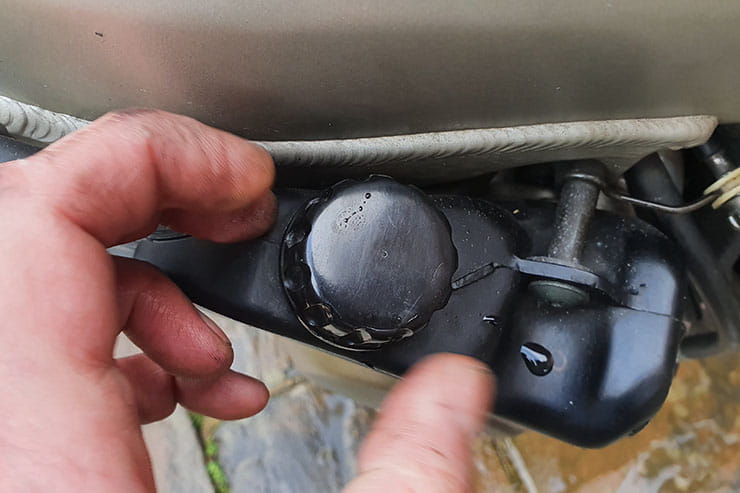
This bike has a coolant reservoir, so remove the cap and the hose on its bottom to drain the remaining fluid into a container. I also removed the bottom rad hose to ensure everything was out.
Step 4: Reattach any hoses
Pop the reservoir hose back on, as well as any other hoses you might have taken off, but leave the drain bolt out.
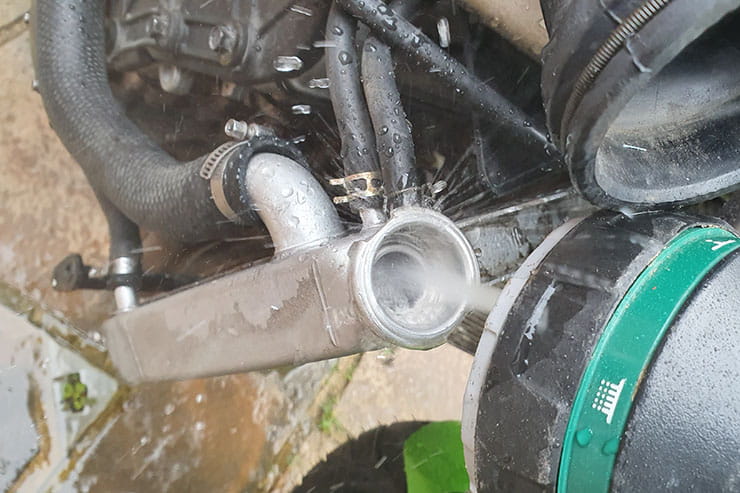
Step 5: Flush with a hose
Pop a hose into the top of the filler neck and flush the system completely with clean tap water. You should take any nozzle off the hose and just use the normal water pressure, not leave the sprayer on like I did. I was careful not to damage the radiator, but I should have removed the nozzle.
I held my finger over the drain bolt a couple of times while flushing to ensure the system filled with clean water, and don’t forget to flush out the expansion tank too.
If the radiator is badly corroded or blocked up, you’ll need to remove it and have it repaired or replaced.
Expert tip: Keep on top of basic maintenance
“If the coolant isn’t replaced frequently enough, corrosion can start to form inside the engine,” says Nick Nomikos, owner and MoT tester at The Two Wheel Centre in Harpenden. “That corrosion can creep under the head gasket and cause it to fail, which is a much more expensive repair than simply changing your coolant when it needs doing.”
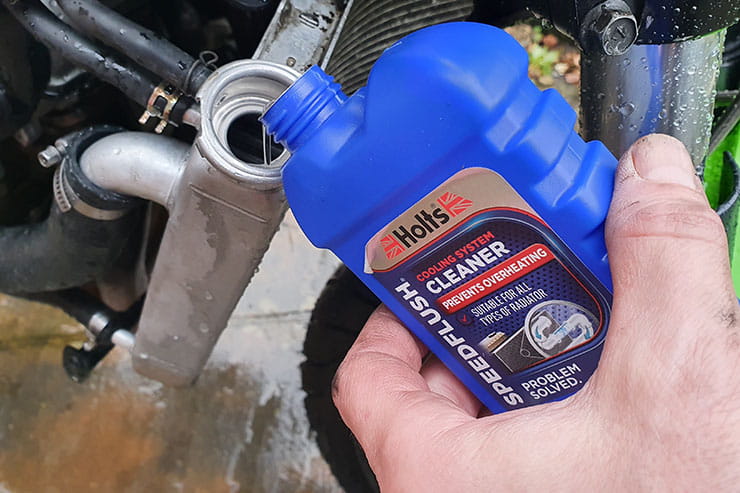
Step 6: Use a flushing compound
I used Holts SpeedFlush from Halfords (Bennetts Rewards members, don’t forget your 10% discount off everything at Halfords); whatever you use, make sure it’s compatible with aluminium engines.
Once the engine is flushed with the hose, pop the drain bolt back in using the old sealing washer, then half fill the system with tap water. After that, pour the bottle of flush into the radiator, then top up the system again.
Check the engine flush instructions, but here I just had to run the engine on a fast idle for ten minutes (I wound the idle adjuster in a little), before letting it cool then draining the fluid out fully.
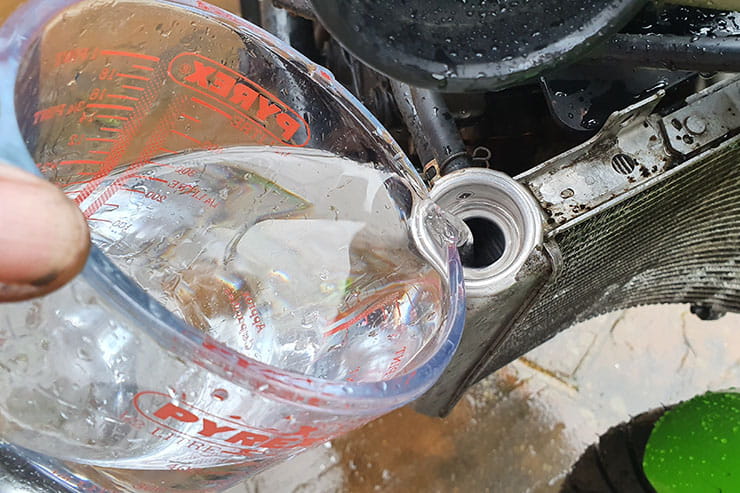
Step 7: Run it with tap water
With the engine flush drained out, it’s time to refit the drain plug and washer, then fill the system again with plain water.
Start the engine and once again let it fast idle for ten minutes.
Don’t worry about the fact that you’re using tap water for these steps – if you were adding concentrated antifreeze that would stay in the system, you’d need to use distilled water, but for cleaning and flushing, tap water is fine.
Once the engine’s cooled, drain it all out again, then flush it with the hose until you’re sure the system is completely clear, remembering to flush the expansion tank again too.
Expert tip: Watch the temperature
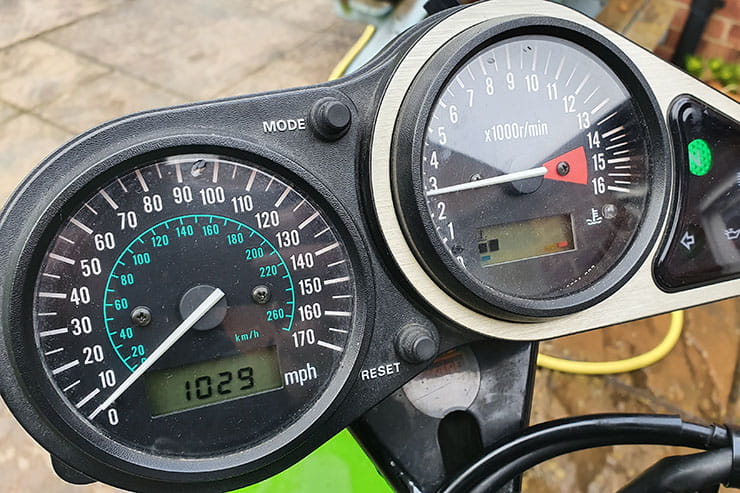
“Check that your bike’s radiator fan comes on as it warms up,” says Nick Nomikos, owner and MoT tester at The Two Wheel Centre in Harpenden. “If it doesn’t, but the engine is getting hot, there might be a blown fuse, but there could also simply be a stone trapped in the fan blades. Keep an eye on the temperature gauge as if the fan hasn’t come on by about 105°C, there’s a problem; turn the motor off and find out what’s going on as it’ll usually come on around 75-80°C”
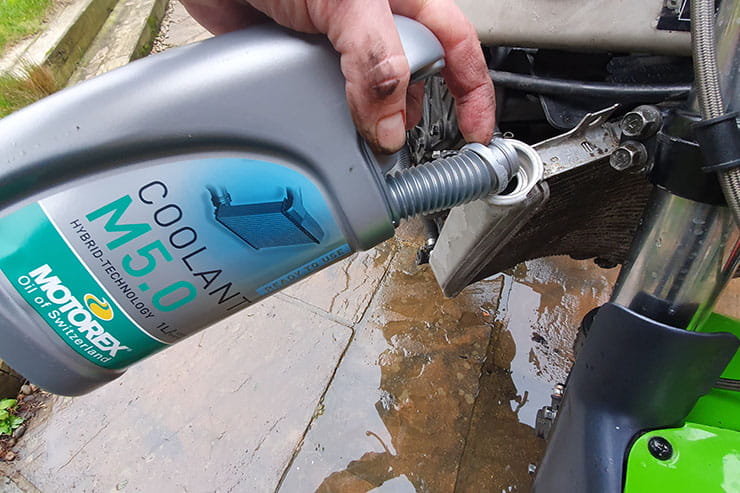
Step 7: Fill the radiator with coolant
You should fit a new sealing washer to the drain bolt before putting it in this final time, then check that all your hoses are secure again – you can lose a fair bit out of the expansion tank if you forget to refit that hose, leaving you with only just enough coolant to finish the job. Apparently.
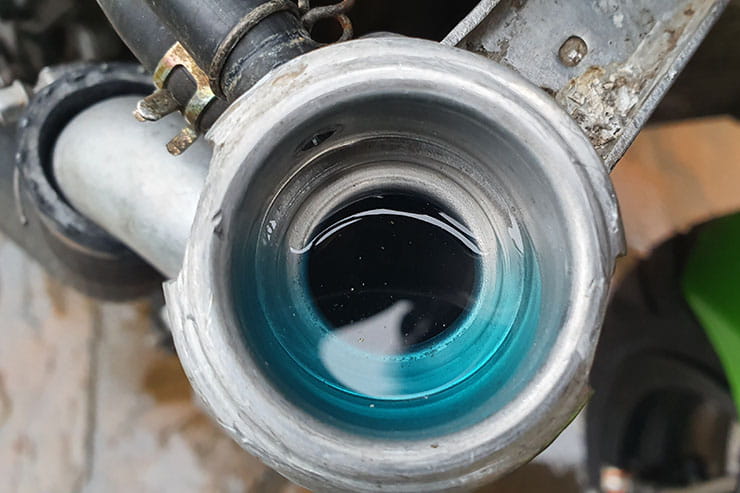
Pour your ready-mixed coolant slowly into the filler cap, avoiding it glugging to keep air bubbles out as much as you can.
Step 8: Top up the expansion tank
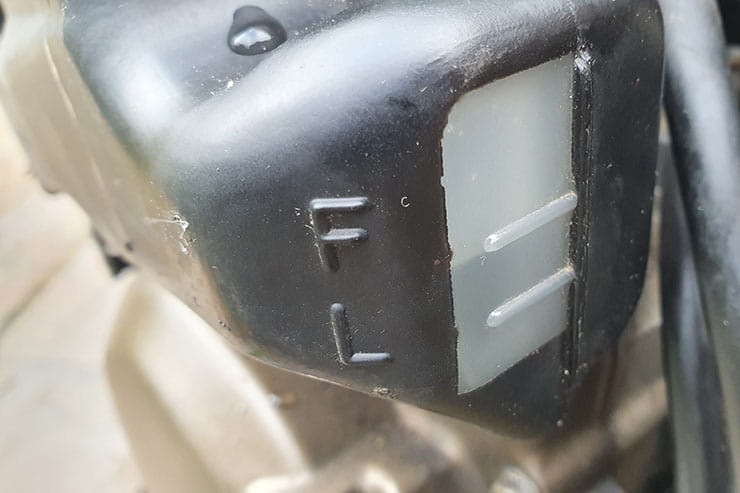
Now top up the expansion tank with coolant to the upper level, then fit the caps.
Step 9: Run the engine
Fire up the engine, let it idle for two or three minutes, then blip the throttle a few times to get the engine speed to about 4,000 to 5,000rpm.
Now stop the engine; any air that was trapped in the system should have bled back to the radiator filler neck.
Step 10: Top up the coolant
Once the engine’s cooled, remove the radiator cap and check the coolant level – if it’s dropped, top it up so it’s level with the neck of the radiator and top up the expansion tank too, if necessary.
That’s it – refit the caps and get on with riding. Keep an eye on the fluid level for the first few hundred miles but you should now be sorted for a good couple of years.
If you can’t do this job yourself, your dealer will be happy to take the work on. While prices will vary, Nick Nomikos, owner and MoT tester at The Two Wheel Centre in Harpenden (as well as our technical advisor) says he’d charge £85 inc VAT, plus the coolant.


